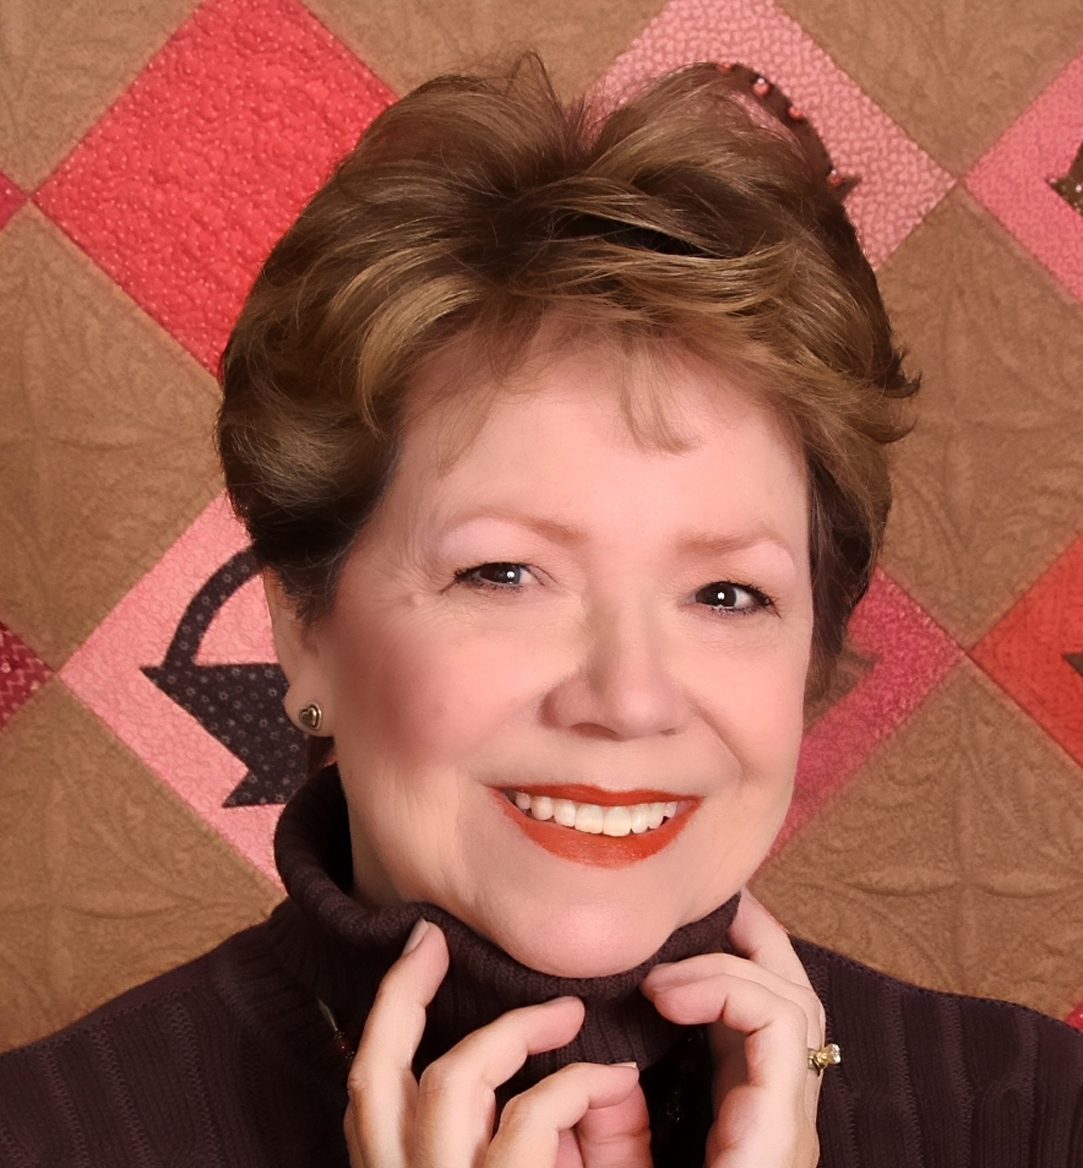
About
Me:
Firstly, when I began quilting seriously, I really did live in a log cabin outside the small town of Tomball,
Texas. Our cabin was surrounded by thick woods inhabited
by white tail deer, raccoons, rabbits, possum, armadillos, foxes, pheasants,
and even the occasional coyote! It truly was a pleasure to live, work,
and raise our family there. And that's where I came up with my business name. In 2019, I sold my cabin and moved to Georgetown, Texas, just north of Austin. My house is now made of Hill Country limestone, but I don't think I'll be changing my busness name to Stoned Quilter.
I made my first quilt 40 years ago, but really became obsessed with
quiltmaking in the past 30 years. I've completed over 140 personal quilts
over the years, and by necessity, was forced to move from handquilting
to machine quilting in order to keep the tops from piling up.
I began machine quilting, for myself and others, on my domestic sewing
machine, but after years of wrestling quilts through the small opening,
I decided to expand my horizons by investing in a Nolting Pro24 Longarm.
I've taken scores of piecing, applique, and design classes over the
years with renowned quilters such as Pat Campbell, Cindy Blackberg,
Jinny Beyer, Karen Combs, Cindy Walter, Jan Mullin, and many more. I've
taken classes in machine quilting with Linda Fiedler, Mary Eddy, Carol
Thelen, Karen McTavish, Linda Taylor, Dawn Cavanaugh, Christine Olson,
Pam Clarke, Claudia Pfeil, and Irena Bluhm. In addition, I've taken classes in quilt
dating, judging, restoration, and appraisal with renowned experts, Dixie
McBride and Bobbie Aug.
Memberships
include International Quilt Association, International Machine Quilters
Association, Professional Longarm Quilters Guild, Central Texas Longarm
Quilt Guild, and Texas Longarm Quilt Guild. I was also president and
founding member of the Tri-County
Quilt Guild
FAQs:
What kind of backing should I use?
* Choose a 'busy' print - Since the thread color
will be chosen to enhance the quilt top, you should choose a backing
fabric that is 'busy' so as to hide the starts and stops of the quilting.
Having a pastel top with pastel quilting/bobbin threads, combined with
a navy backing fabric, will result in a back that looks like white crayon
on black paper - not too attractive. I stay away from different colors
in the top and bobbin, as it's easy to see tiny changes in tension when
going around curves - these show up as little pin-dots on either the
top or back of the quilt.
*
Choose good-quality fabric - Use the same type of fabric you used
to construct the top. Sheets are notoriously difficult to quilt through.
Their high thread count and tight weave make it difficult to keep a
consistent tension, and can also result in tucks or pleats. For this
reason, I do not accept sheets as quilt backings.
Important: Be certain the amount of backing you send is adequate! Add
8" to both dimensions of the quilt to determine the amount of backing
needed. Excess batting and backing at the end of quilting (over 2"
in width) will be returned to you.
*
Using a wide-backing fabric is more economical than piecing 44"
yardage together.
What kind of thread do you use?
Primarily I use Superior and Signature threads, in cotton or cotton-covered
polyester, in either solid or variegated, depending on what the quilt
needs and the look the client wants. The top and bobbin threads will
be the same color, with the exception of monofilament - then the bobbin
thread will match the backing fabric.
There is no charge for thread, unless the client asks for a specialty
thread such as metallic.
What is the "Turn Around" time for a quilt?
Currently I have a 6 week waiting period from the time you reserve
your quilt's spot to the date I begin working on it. I ask that the
quilt be mailed or dropped off 2 weeks prior to your reservation 'date'
in the event that I can get to it sooner. It will be returned as soon
as it's finished, and payment in full has been received. Of course,
the sooner you contact me, the sooner your name goes on the calendar!
There is a non-refundable $25 reservation fee, to hold your spot. It
will be applied as a credit to your final bill.
What kind of battings do you carry?
* Hobbs Heirloom 80/20: 80% unbleached cotton &
20% polyester; lightly needle punched and lightly resin bonded. 1/8th"
+ loft. Can be quilted up to 4” apart. Machine washable with shrinkage
of 3-5%.
* Hobbs Polydown: 100% polyester, the ultimate
polyester quilt batting. Resin bonded to resist fiber migration, non-allergenic,
1/4" loft. Can be quilted up to 4-6” apart. Machine washable,
no shrinkage.
* Hobbs Wool: 100% resin-bonded wool. Wool breathes
better than other fibers and acts like a natural insulator helping to
maintain comfort in summer or winter. Can be quilted up to 4”
apart. Machine washable, with little shrinkage. This batting is incredibly
light - a quilt utilizing this batting is unbelievably lightweight.
It costs a little more, but the drape is beautiful.
* Hobbs Heirloom Organic 100% cotton, needlepunched
without glues or resins. Can be quilted up to 10" apart. Machine
washable, with 3% shrinkage. It's similar to Warm & Natural.
May I supply my own batting?
Yes, providing it is of the same high-quality as the battings I
use, is low-loft, and is at least 8" larger in both width and length
than the quilt top. Under no circumstances will I accept a Mountain
Mist batt. They are too flimsy. Any others, email me with the product
information from the package and I'll tell you whether or not I can
use it.
What do you mean by 'basting'?
I will machine baste your quilt on my longarm, at about 4"
intervals, using a neutral-colored 100% cotton thread. It will be returned
to you ready to be handquilted. No more strain on your back and knees!
Do you trim the quilt before returning it to me?
Unless otherwise requested, I normally trim around the perimeter
of the quilt leaving a generous 1/2" beyond the quilt top. That
gives you something to grab on to when applying your binding, but still
gives you a presentable-looking quilt for guild show & tell night,
even without the binding. I will, of course, return all the trimmings
to you, providing they are at least 2" wide.
How do I prepare my quilt for quilting?
* Tops should be pressed, and all stray threads
clipped. Be sure your quilt is 'squared up' - that is, the corners are
90* angles.
* Borders that are 'wavy' with too much fabric
for the length/width of the top, can result in puckers or fullness in
the finished quilt. See Adding Borders on the How-To page. Removing
and recutting a border at this stage will make you much happier with
the final quilt.
* Please indicate with a note attached by a safety
pin which edge of the quilt top is the "top" in the event
the quilting is directional in some way.
* Backing fabric should be pressed, 'squared up'
(90* corners) and at least 4" larger than the top on all four sides.
That is, 8" larger, both vertically and horizontally, than the
quilt top. Remove the selvedge edges - they can cause pulling and puckering.
Please don't use sheets, as the weave is usually too tight to give a
nice stitch when quilting on the longarm.
* If providing your own batting, it, too, must
be 'squared' with 90* corners, and at least 8" larger than the
top, both vertically and horizontally.
* All three layers will be loaded separately on
my longarm, so don't baste anything together.
How-To:
Add Borders: To avoid having quilts that 'wave' at
you, be sure to measure and apply your borders correctly. Measure from
the center of one side of the top, across to the center of the other
side of the top. That is, not along the outside edge from corner to
corner. Better still, take three measurements and average them to find
the cut measurement for your border. Cut two lengths of border material
and pin to the opposite sides of the top, matching the outer edges and
center. Pin to ease in any fullness that might exist. Stitch, press,
then repeat the process for the remaining two sides.
Piece Backings: Measure the length and width of the
completed top, and add 8" to both measurements. This will be your
finished backing measurement, with sufficient extra fabric all the way
around so as to make your Longarm Quilter love you. Remove the selvedges,
as they are more tightly woven, and might give you problems later. If
you find it necessary to seam your backing, sew with a 1/2" seam
allowance and press it open. You might consider sewing that seam with
a very small zig-zag stitch to help it 'give' a little if necessary.
One seam down the middle is ok, but consider that folding and refolding
over the years might cause the fibers to weaken. A better alternative
would be to make the backing out of three pieces of fabric.
An easy, no-math way to accomplish this is to place two lengths of backing
fabric, right sides together, and sew vertically together along the
2 outside edges, to form a tube. Then cut right up the center of the
top fabric only, and open out the two new 'side flaps.' Trim these along
the new outside edges, so the backing is as wide as you need. You might
have enough trimmings left over, that can be used for binding.
Stabilize Edges: If your quilt has pieced borders,
please stabilize the edges by stay-stitching 1/8th inch all the way
around the top. This will keep all those loose seams from wiggling apart
during the quilting process. If your backing is heavily pieced, I would
recommend stabilizing it, too.
All
content copyrighted by Diane Anderson, CabinQuilter Custom Quilting
and may not be copied or reproduced without expressed, written permission
©2000-2022
Pricing
| Order |
FAQ | Gallery
| Shop | Contact | Home
|